If you’ve been gardening for a while, you’ve probably heard about coco coir — the eco-friendly, sustainable alternative to peat moss. Made from the fibrous husk of coconuts, coco coir has become a favorite among home gardeners across the USA. It’s lightweight, renewable, and perfect for those who love DIY gardening projects. In this guide, you’ll learn how to make your own coco coir potting mix at home, why it works so well, and a few simple tips to help your plants thrive.
🌴 What Is Coco Coir and Why Use It?
Coco coir is the natural fiber found between the outer shell and the inner meat of a coconut. After processing and drying, it becomes an ideal growing medium for plants. Unlike peat moss, which takes centuries to form, coco coir is a renewable resource that helps reduce your carbon footprint.
Gardeners love it for several reasons:
-
Excellent moisture retention: Coco coir holds water well, keeping your plants hydrated longer.
-
Improved aeration: Its fibrous texture allows air to reach the roots easily.
-
Neutral pH: Coco coir’s pH usually sits around 5.5–6.8, making it perfect for most plants.
-
Eco-friendly: It’s a byproduct of the coconut industry, meaning no trees are cut down to make it.
🧑🌾 What You’ll Need to Make DIY Coco Coir Potting Mix
You don’t need much to create your own mix — just a few basic ingredients and tools.
Materials:
-
Coco coir block or loose coco coir (available at Factory’s Depot)
-
Perlite or pumice – for drainage and aeration
-
Compost or worm castings – for nutrients
-
Water – for expanding the coir
Tools:
-
A large bucket or container
-
Mixing trowel or shovel
-
Gloves (optional but helpful)
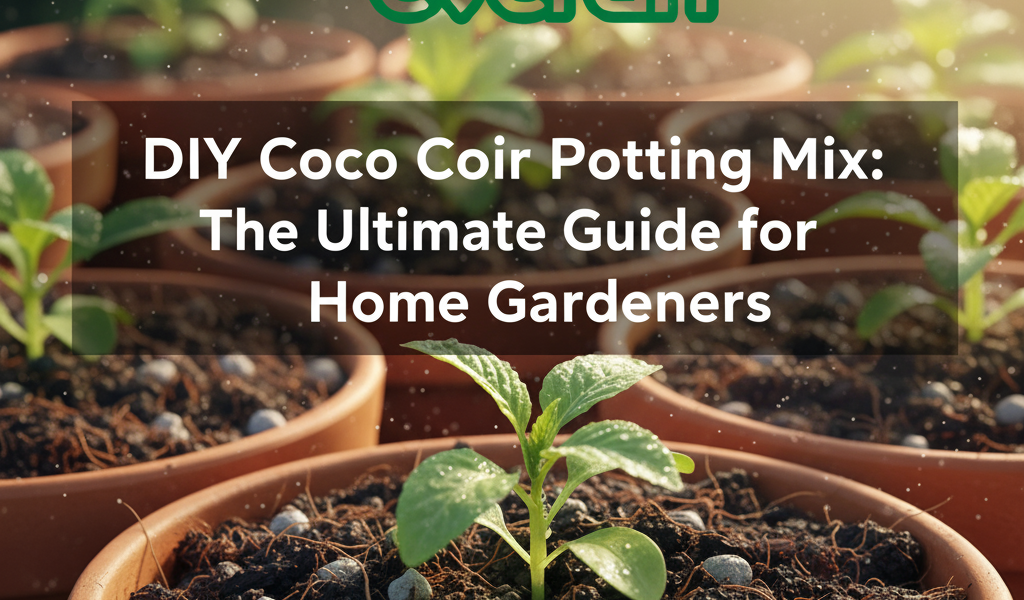
🌿 Step-by-Step: How to Make Coco Coir Potting Mix
Step 1: Hydrate the Coco Coir
If you’re using compressed coco coir blocks, start by soaking them in warm water. Most 5 kg blocks will expand to about 15–20 liters once hydrated. Break it apart gently as it absorbs water.
Step 2: Add Perlite for Aeration
Mix in perlite or pumice (about 30% of your total mix) to keep the soil light and prevent compaction. This ensures roots get plenty of oxygen.
Step 3: Enrich with Compost or Worm Castings
Coco coir by itself doesn’t contain nutrients. Add 20–25% compost or a few handfuls of worm castings to provide organic matter and beneficial microbes.
Step 4: Mix Thoroughly
Combine everything in your bucket or container until the texture feels fluffy and evenly moist — not soggy.
Step 5: Test and Adjust
If the mix feels too dense, add more perlite. If it dries too fast, add more coco coir. Once it’s balanced, your DIY potting mix is ready to use!
🌻 Best Uses for Your Coco Coir Potting Mix
-
Container Gardening: Perfect for houseplants and balcony gardens.
-
Seed Starting: Provides a sterile, airy environment for germination.
-
Raised Beds: Mix with compost and topsoil for better water retention.
-
Indoor Plants: Keeps moisture consistent while reducing pests and mold.
Whether you’re growing herbs in your kitchen window or setting up a full greenhouse, this DIY mix offers flexibility and sustainability — all in one.
🌎 Why Coco Coir Is Perfect for USA Gardeners
With unpredictable weather and varying soil conditions across the U.S., coco coir adapts beautifully. It works in hot, dry climates by retaining moisture and in humid areas by improving drainage. Plus, since it’s eco-friendly and non-toxic, it’s safe for kids, pets, and indoor use — a win for every home gardener.
🪴 Final Thoughts
Creating your own coco coir potting mix is easy, affordable, and better for the planet. By using sustainable materials, you’re not just growing healthier plants — you’re also helping reduce environmental waste.
Ready to get started? Explore premium coco coir blocks and gardening supplies at Factory’s Depot, and make your garden thrive naturally!