Starting plants from seeds is one of the most rewarding parts of gardening. But to ensure healthy germination, you need the right growing medium. That’s where coco coir comes in. Lightweight, eco-friendly, and excellent at retaining moisture, coco coir has become a favorite seed-starting medium for home gardeners and professionals alike. If you’re new to seed starting or looking for a more sustainable option, this guide will show you exactly how to start seeds in coco coir and why it’s a smart choice for gardeners across the USA.
Why Use Coco Coir for Seed Starting?
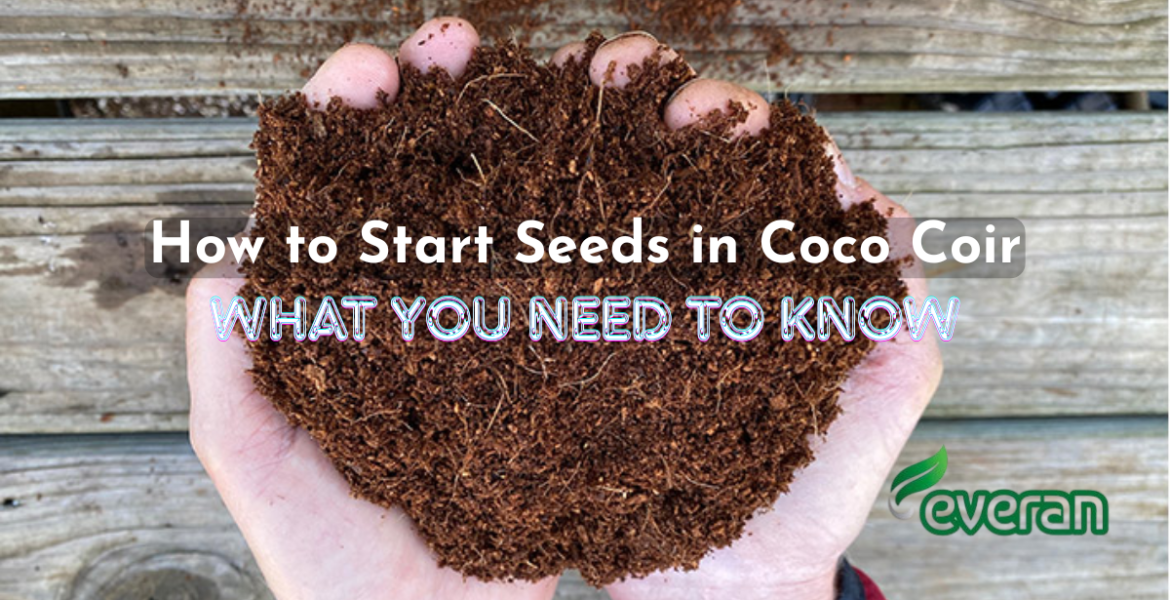
Coco coir is made from the husks of coconuts, a renewable resource that’s processed into a soft, soil-like material. It offers several benefits that make it perfect for seed germination:
-
Excellent water retention keeps seeds consistently moist without waterlogging.
-
Good aeration allows oxygen to reach young roots, reducing the risk of rot.
-
pH-neutral (around 5.5–6.8), making it suitable for most plant seeds.
-
Clean and pest-free, unlike some traditional soils.
-
Eco-friendly alternative to peat moss, helping reduce environmental impact.
With coco coir, your seedlings get the best possible start.
What You’ll Need to Start Seeds in Coco Coir
Before you begin, gather the following supplies:
-
Coco coir (blocks, bricks, or pre-expanded)
-
Seed trays, pots, or plugs
-
Your chosen seeds
-
Water (to hydrate the coir)
-
Optional amendments: perlite or vermiculite for extra drainage
-
Fertilizer (since coco coir is nutrient-free, you’ll need to feed seedlings later)
Step-by-Step: How to Start Seeds in Coco Coir
1. Hydrate the Coco Coir
If you’re using a compressed block, place it in a bucket and slowly add water. It will expand into a fluffy, soil-like texture. Break up any clumps with your hands.
2. Fill Seed Trays or Pots
Scoop the hydrated coir into seed trays, small pots, or plugs. Gently press it down, but don’t pack it too tightly—roots need room to grow.
3. Plant the Seeds
Read the seed packet for depth instructions. Most small seeds should be lightly pressed into the coir, while larger ones can be buried deeper. Cover lightly with a thin layer of coir.
4. Water Gently
Mist the surface with water or use a gentle spray. Coco coir absorbs water quickly, so it’s easy to keep evenly moist.
5. Provide Warmth and Light
Place trays in a warm spot or use a heat mat to encourage germination. Once sprouts appear, move them to a sunny window or use grow lights.
6. Feed Seedlings
Since coco coir doesn’t naturally contain nutrients, start feeding your seedlings with a diluted, balanced fertilizer once the first set of true leaves appears.
7. Transplant Carefully
When seedlings are strong enough, transplant them into larger pots or your outdoor garden. The root systems will be healthy and easy to transfer thanks to coco coir’s loose texture.
Tips for Success
-
Mix coco coir with perlite for better drainage if growing larger seeds.
-
Keep the medium consistently moist, but avoid letting it sit in standing water.
-
Label your trays to keep track of different seedlings.
-
Reuse coco coir by rinsing and sterilizing it before the next planting cycle.
Final Thoughts
Starting seeds in coco coir is simple, sustainable, and highly effective. With its ability to hold moisture, provide aeration, and keep seedlings safe from pests, coco coir offers a healthier start compared to traditional soils.
At Factory’s Deport, we supply high-quality coco coir products across the USA, making it easy for gardeners to grow strong, vibrant plants right from the seed stage. Whether you’re starting vegetables, herbs, or flowers, coco coir is the foundation for success.